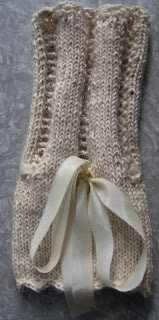
Box-Pleat Top - Knitting in the Round
So, the Box-Pleat Top pattern is easily converted to knit in the round.

Simply omit the "edge stitch" on either side of both the front and back sides when you cast-on (i.e., size large would have 248 cast on stitches, rather than 252). The "edge stitch" provides the selvedge edge that you would use when sewing a side seam. If you've knit the garment in the round, you won't need the extra stitches.
After casting on the proper number of stitches, be mindful not to twist the stitches before attaching end-to-end for knitting in the round.
Knit Row 1 as per the pattern instructions. However, Row 2 is now a "knit" row, rather than a "purl" row, and you just continue knitting around in the circle you have started.
Follow the pattern instructions for front and back simultaneously. Once you reach the bottom of the arm opening, you will need to stop knitting in the round, add the edge stitches back in, and follow the pattern instructions for front and back separately. You can either leave stitches on the circular needle while not working on them, or you can move them to another circular needle for safe keeping while you finish knitting the first side.

Labels: Box-Pleat Top


